Table of Content
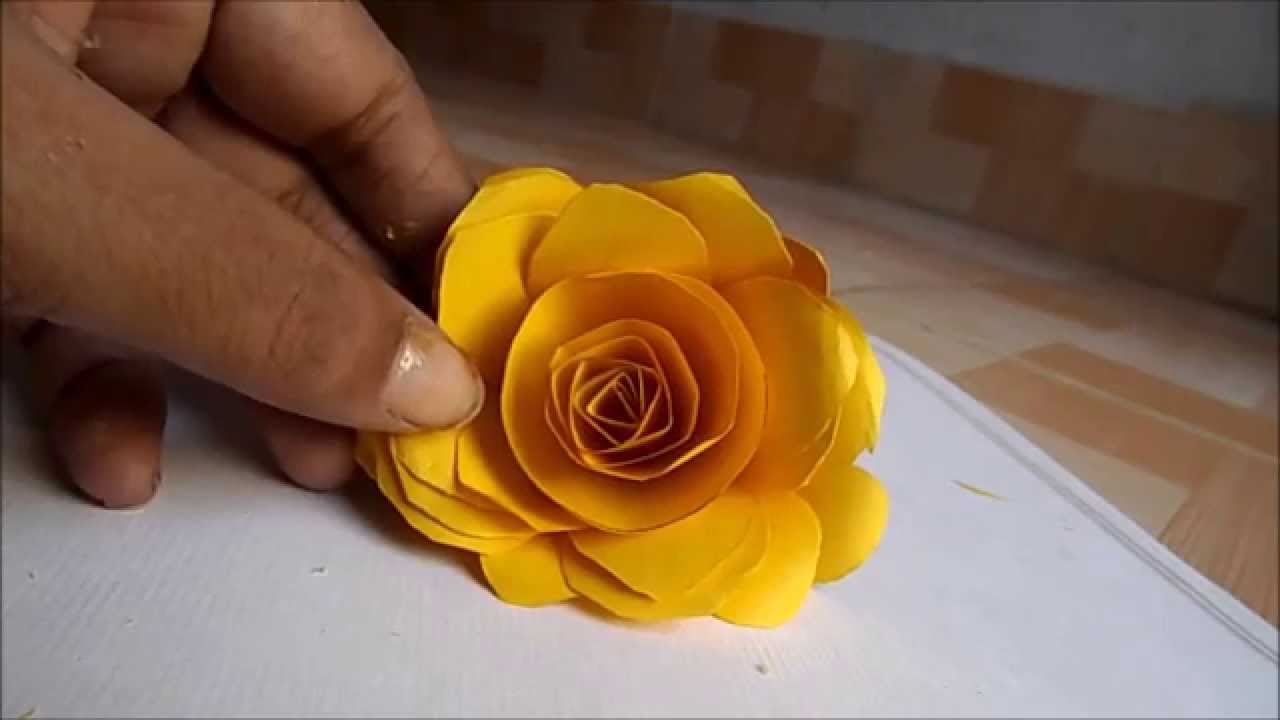
As you expand, the petals should get more and more splayed out.Every layer should peep out from between the layer before. In the valley where the two petals meet in one layer should be the center of the petal from the next layer. And again, with each succeeding layer, your petals should get less and less rolled up. Paper flowers are perfect for weddings, get-well-soons, birthdays, baby showers, decorations, and just a kind "thinking of you" moment for anyone in your life. They are easy and cheap to make, so you really don't have to worry about the cost or your level of skill.
Are you looking to make some extra big paper flowers? You can leave the flowers as is or spray paint some branches to make stems. This is an easy project that's going to make a big impact. Once you’ve aligned all the layers of tissue paper, grab one end of the entire stack and start folding inwards. You’ll want to fold the sheets like you would fold paper to make a fan, which means you want an evenly corrugated shape, as seen here.
Instant Recycled Paper Flowers:
Other than that, thank you so much for the pattern. It was so helpful to have step by step pictures as well as a video. There you go, your DIY paper flower is ready. You can make and store a ton of these flowers to use for later.
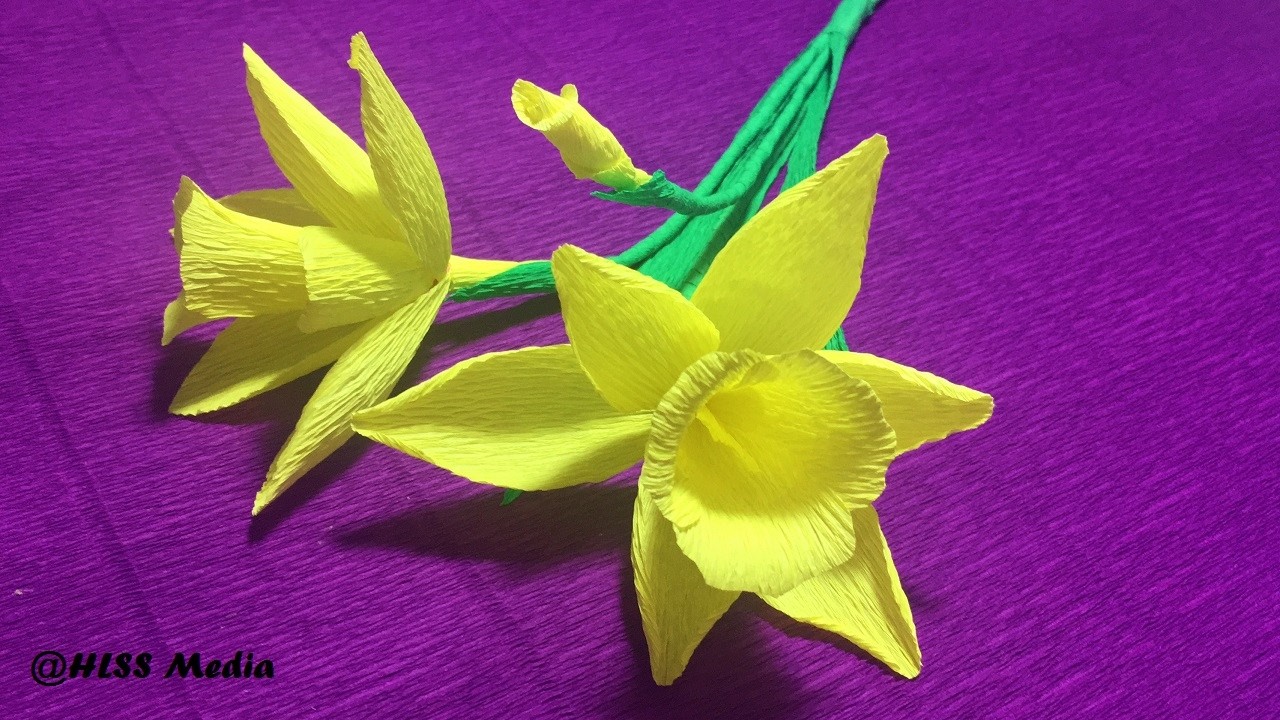
To give an example, you can make paper roses with colored paper, pinocchio paper, cardboard, decorated paper, etc. In the video you will learn step by step how to make a bouquet of tulips with paper. Roses, dahlias, carnation, daisy etc you can make all these charming blooms yourself for any of the reasons. Neither you need any hefty supplies nor you need to be an art and craft expert to create these gorgeous flowers at home. All you need is some a kit of basic tools like scissors, glue, pins etc with the paper as the basic crafting material.
Paper Flower Centerpiece
It wasn’t pretty, but that opened up an entirely new world of crafting to me. I have since created lots of woodworking projects that you can learn too. With lots of these pieces, you will ultimately create a Kusudama bouquet. It’s a ball-shaped ornament made of several flowers that are sticked together. Keep on adding layers as you see it’s necessary.

You will be surprised how easy it is to make paper flowers, both for children of all ages and for adults. Apart from being cheap, making an easy paper flower is really very quick and easy. I absolutely love this tutorial because it’s so creative and unique, and not at all what you would think when you go to make paper flowers.
Easy DIY Paper Flowers
Spread them out and squish them a little to get them to sprawl out like a carnation. We love any project that involves a bit of randomness and surprise, and making paper flowers is one of those projects! This lovely painted collage project gives you and the kids the opportunity to relax and enjoy the process of making, rather than focussing on being neat and tidy. Here, we show you how to make paper flowers for kids easy.
You will see there are many different tutorials to make paper flowers for multiple purposes and using a variety of materials. This group of sweet paper flowers was designed by Project Nursery. You can use any color of scrapbook paper to make as many as you would like. There is a PDF template for the petals and leaves but also an SVG file that you can use with a craft cutting machine. This project uses cardstock and is put together quickly with a glue gun.
A strip of paper cut in a scalloped pattern wrapped around a wire stem is one method. Individual petals can be cut, shaped and glued onto a wire stem. It is possible to adapt ribbon roses methods to make similar paper versions. In origami, the Kawasaki rose can be made from folding a single piece of paper.

Create a whole flurry of snowflakes from the same material, or mix and match different materials for a more intricate look. To make your display even more magical, finish your paper snowflakes with glue and clear glitter for a subtle glistening effect. The last step is to glue the center to the flower very well. After the first row, I turn the flower over and glue the 2nd row, placing the petals between the petals of the 1st row. First I flip the base and start by gluing the 1st row of petals from the back side. Also, make sure you don’t overstretch the paper.
Use all different colors of tissue paper to create a group of beautiful flowers that you can sit anywhere in your home. These flowers will entertain the little ones and the little at heart, they are quite easy to make and look amazing. The paper rose craft to carry out at home is one of the simplest. Also, you can make them in many different ways and use many different papers.
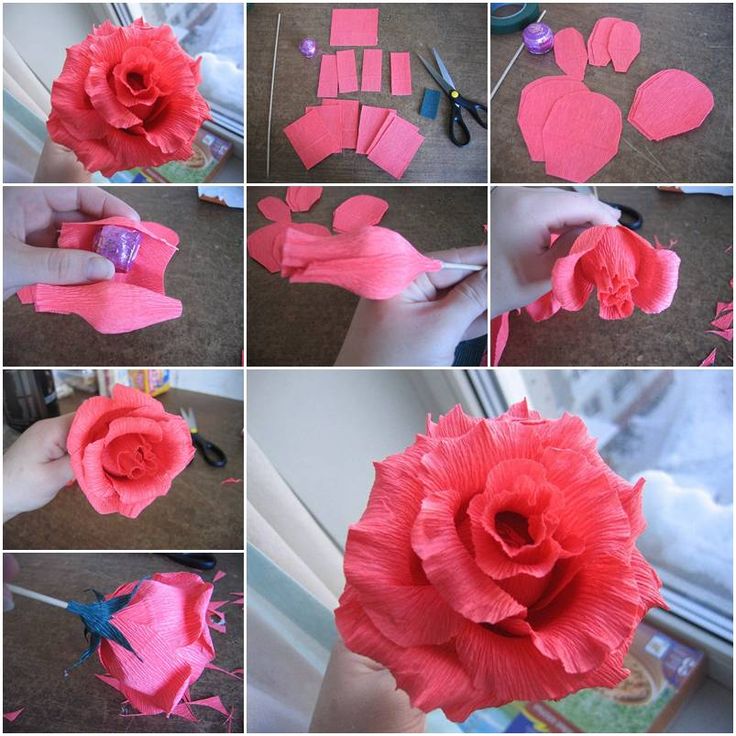
As a general rule of thumb cut a strip twice as big as the flower you want to create.If you're making several flowers experiment with different sizes. Just cut strips that are of various widths and it will automatically create smaller and bigger flowers. Put hot glue in the corners, wrapping the first one very tightly. For the very center of your flower, put hot glue in the corners of the paper and roll it back into a tight bud shape.
It’s very important what kind of crepe paper you will make this flower from. Because in order for large flower petals to hold their shape well, you need to use good quality heavy crepe paper. But before you start making some complex flowers, you need to practice with it a little.
It’s as simple as that.It doesn't have to be perfect, uniform, or even by any means. A lopsided, wonky spiral will be just as adorable as a spiral that was meticulously drawn down to the millimeter. Just draw a spiral like your inner seven-year-old self might draw a spiral and that’ll be great.
Beautiful Self-Made Hanging Paper Flowers:
Roll and roll and roll until you come to the other side of the strip and it's all wrapped up. Then, take another piece of masking tape and wrap it around the base of the paper, securing it in place. Do this to as many layers as you want of paper.Once the tape is on, fluff your "petals" to give them a more flowery look.


No comments:
Post a Comment