Table of Content
This article was co-authored by wikiHow Staff. Our trained team of editors and researchers validate articles for accuracy and comprehensiveness. Sometimes, life is just easier if you have a crown to wear. Check out this easy art project to make a paper plate crown at home using paper plates, paint, and craft decorations. Paper plates are made using a special paper-plate machine. There different varieties of this machine, but they all work along the same principles.

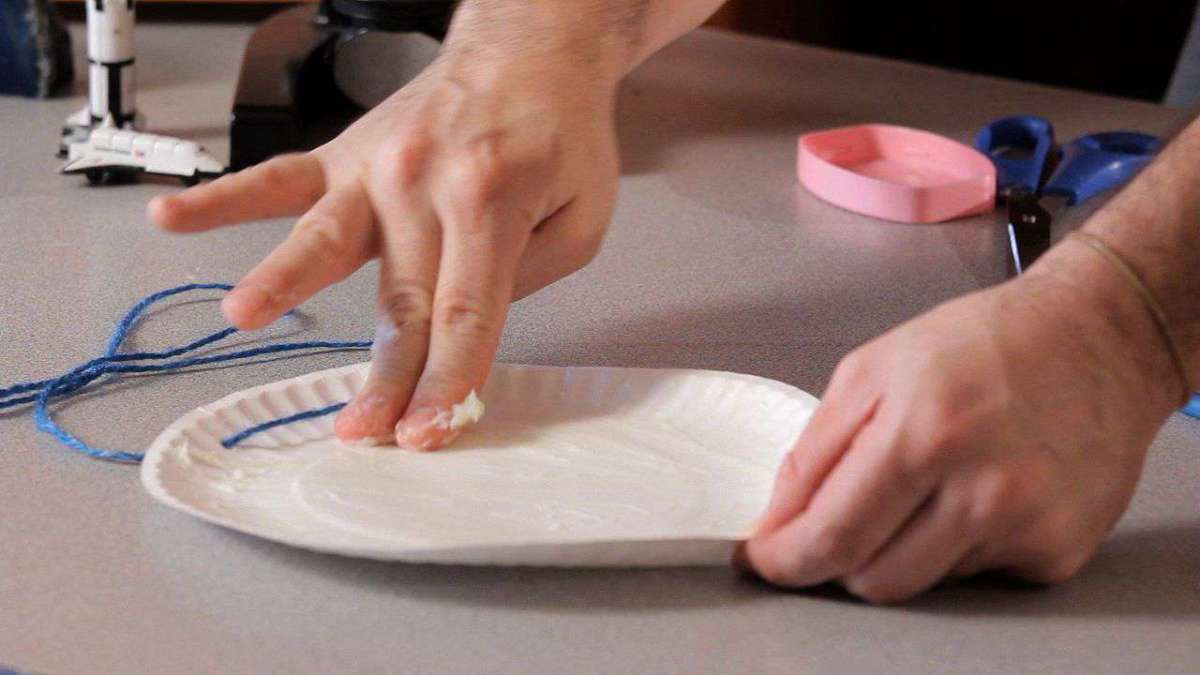
When you’re done, let the plate dry.Rubbing alcohol is the most efficient way to remove hidden debris like fingerprints, but you can also try soap and water. Get your paper plates and cut a circle out of the middle of each leaving just a ring. STEP TWO – Using scissors, carefully cut the centre out of your paper plate, leaving only a border. You can use plastic disposable plates instead, although may need a craft knife to cut out your circle. This is something you will need to do for your child or with careful supervisor for older children confident with using scissors.
Best Franchise Business Opportunities under 10K Dollars in the USA
Please send quotation and production capacity of machine fully automatic. External factors such as bandh, strikes, or pandemics like COVID-19 may also influence your business. On other hand, if you buy a machine with normal cost starting with 60,000 INR and keep 2-3 workers you have to give monthly or hourly wages. Paper plates are available in different sizes, Quality and Shape. These are mostly used for serving samosa, pani puri and other snack items. They are mostly available in 4 inch to 7-inch size.
Throw it on different sides of the clay to help push out the bubbles. You can use a larger or smaller piece depending on the size of plate you want to make. While certain dyes can help, the best way to get white pulp is to use plain white paper. As long as the glue has not yet been added, the mixture can be rehydrated by adding more water.
Quality
Create a smooth surface on the clay with a plastic card. Put the clay on a piece of paper or butcher paper. Smooth out both sides of the clay with something flat, like an old credit card or gym card. Run the edge of the card over the clay, and it will smooth out the fingerprints left behind. Standing up, press down into the clay as you roll the pin away from you. If you're using wooden pieces, balance both ends of the rolling part of the pin on the wooden pieces.
This type of equipment is best suited for making large thali plates. To start any business, you need to obtain certain licenses and they depend on various things such as type of business, number of workers, sector, and place of the business. Lets now get in to submitting a brief project report. It requires 2-3 workers to run the business decently. You can either put them in a single shift or different shifts.
Marketing your business
The best paints for plates are ones that you need to bake in the oven. Some are marked as multi-surface while others are just for ceramics. Make sure they're not toxic before you buy them.
Trim the paper into shapes, such as flowers, if you wish. Leave a small border of excess paper so you have a place for the tape. Tape helps you hold the paper to the plate so it doesn’t slide around while you’re working. Press the paper plate evenly onto the sticky side of the contact. STEP SIX – Once your design is complete, peel the backing off your second circle of contact and press this firmly on top of the flowers, sticky side down.
Prospects and scope of paper plate business
Pour the soaked paper scraps into a blender until it’s about two-thirds full. Tear the paper into 2 in (5.1 cm) wide strips. The pieces don’t have to be perfectly uniform, but they should all be around 2 in (5.1 cm) in size. Remove any plastic and/or staples from the paper. Especially if you’re using junk mail, your paper scraps are likely to contain plastic from envelope windows. If staples or other contaminants are left in the paper, they could damage your blender during the pulping process.

Fire the plate in a kiln when it's completely dry. You'll need to leave it uncovered at least overnight for it to dry out. Once it's dry, place it in a kiln and heat it. Typically, kilns heat to 1,700 °F (930 °C) or even higher. Check your clay to see how hot you should heat it and set your kiln to heat that high.
Scrub the entire plate to eliminate smudges and debris that can prevent the paper from sticking in place. You can also try using water and dishwashing detergent. Color your design using ceramic paint and a paintbrush. Keep a cup of water nearby to rinse off your brush when you need to switch colors.
Fill a large foil pan at least a third of the way full with warm water. Use a pan that’s at least 18 by 24 inches (46 cm × 61 cm) so you can make a large batch. Add a pinch of glitter to the slurry to make your paper sparkle. For bright, glistening paper, drop 1 tsp of glitter into the slurry after blending. Choose whatever color you’d like; just avoid adding too much glitter because it could dry out the slurry. Blend the paper with water for at least 30 seconds to turn it into a slurry.
Although you can paint the design on the plate freehand, creating a stencil first leads to neater decorations. Cool the plate in the oven for at least 30 minutes. The plate will be hot after baking, so avoid taking it out right away. If you try to take it out, it may crack as well as burn your hands. Wait until the plate feels cool to the touch before handling it.You can bake the plate a second time to ensure the ink sets in.

Depending on how much pulp you're making, you may want to blend it in batches. If you choose this option, mix all of the batches back together in a bowl when you're finished blending for a uniform consistency. Fill the bowl with water until you immerse the paper completely in the water. The water level should be just enough to cover the paper but no higher. In terms of temperature, the water should be hot, but not boiling, to soften the paper faster. Hold the frame at a 45-degree angle and submerge it into the basin with the screen side facing downward.
Change the hue of your paper with food coloring for an artistic flair. Put 5 to 6 drops of food coloring into 1 blender's worth of slurry. After you add the food coloring, stir the slurry with a spoon until the color is evenly distributed. If you'd like to make 2 different colors of paper, add drops of different colors to separate batches of slurry.


No comments:
Post a Comment